If you're passionate about astronomy or astrophotography, you've likely fantasized about having your own backyard observatory. A permanent or semi-permanent setup allows for quick night sky observations without the hassle of constant assembly.
Introduction: Who Needs a Backyard Observatory?
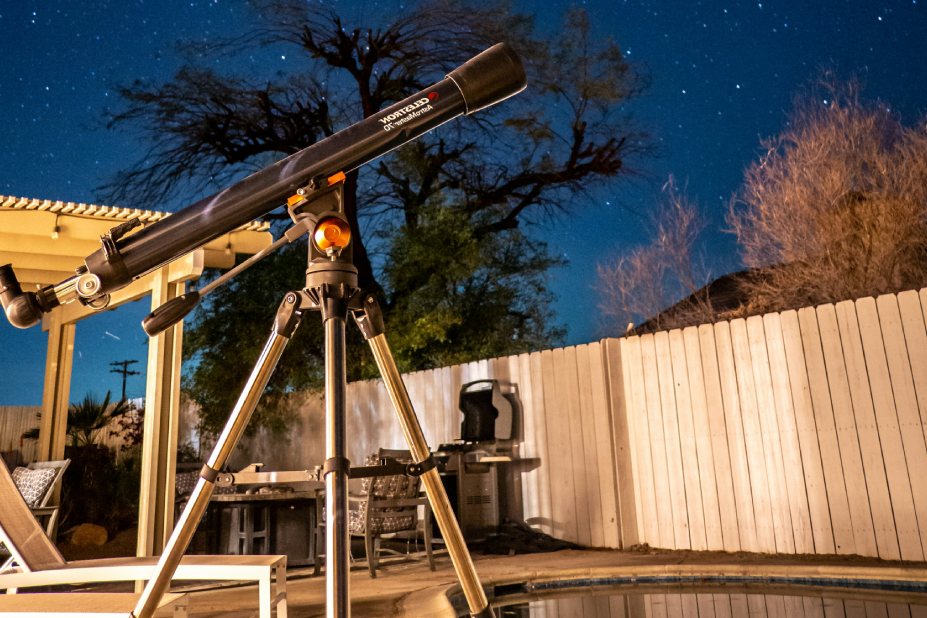
Whether you're an amateur astronomer, a stargazing family, or a budding astrophotographer, building your own observatory doesn't have to break the bank.
In this guide, we’ll walk you through budget-conscious observatory options, compare essential products, and help you decide the right build for your location and needs.
Top Budget-Friendly Products for Your Backyard Observatory
1. Suncast Resin Shed – Budget-Friendly Observatory Shell
Originally intended for garden tools, the Suncast Resin Shed has become a favorite among DIY stargazers for housing telescopes. It's affordable, weather-resistant, and spacious enough to accommodate small to mid-sized telescopes.
- Pros: Inexpensive, easy to assemble, decent insulation
- Cons: No roll-off roof (modifications needed), limited interior height
- Estimated Cost: ~$350
2. NexDome Observatory Kit – Affordable Professional Look
The NexDome 2.2m Dome offers a pre-fabricated, modular solution. With a rotating dome and shutter, this kit brings the pro-level observatory feel to your backyard—without requiring a second mortgage.
- Pros: Fully rotatable dome, expandable, great light protection
- Cons: Higher price than a DIY shed, shipping costs
- Estimated Cost: ~$2,000 (entry-level)
3. ScopeDome Clamshell Roof System
For those looking to go semi-permanent, ScopeDome’s clamshell roof design is a good middle ground between DIY and commercial. It protects your gear while allowing for a broad sky view.
- Pros: Weather-sealed, motorized option available, less dome obstruction
- Cons: Higher learning curve for installation
- Estimated Cost: ~$1,500–$3,000
4. SkyShed POD – Great for All Climates
SkyShed PODs are extremely durable and well-insulated. If you live in a region with intense weather variation, this dome holds up well over time and is often used by astronomy clubs.
- Pros: UV resistant, portable design, customizable colors
- Cons: Round wall limits layout, not ideal for large telescopes
- Estimated Cost: ~$2,500+
Buying Guide: Choosing the Right Backyard Observatory Setup
When selecting components for your budget backyard observatory, consider the following:
1. Climate and Durability
Choose materials that can withstand your local weather. Resin and plastic domes are ideal for wet or humid areas. Wood may work in dry climates but needs more maintenance.
2. Telescope Size
Make sure your observatory shell accommodates the size and mount of your telescope. Equatorial mounts need more space to maneuver than Alt-Az mounts.
3. Roof Design
- Roll-off roofs are perfect for DIYers and simple builds.
- Domes are better for reducing light pollution and wind interference.
- Clamshells offer wide views and are quicker to deploy.
4. Budget Constraints
If you're tight on budget, starting with a modified shed or tarp structure works. Just ensure your telescope is protected from dew and dust.
Recommend
Final Thoughts: Start Stargazing from Your Own Backyard